
SCREEN PRINTING
Our Screen Printing Process
What happens after you select the perfect garment for your needs? Many people are not familiar with the processes and intricacies of how screen printing works.
At Production Point, we love to inform our partners of how we are able to make their ideas a reality from concept to finished product!
SCREEN COATING
First thing you need to print is a screen.We coat a screen with photo sensitive emulsion. Depending on the image size, complexity and ink color/type we decide on a particular mesh count to use. A higher mesh count allows you to print more detailed images, whereas a lower mesh count is good for “blocky” images or to print a base and white ink.
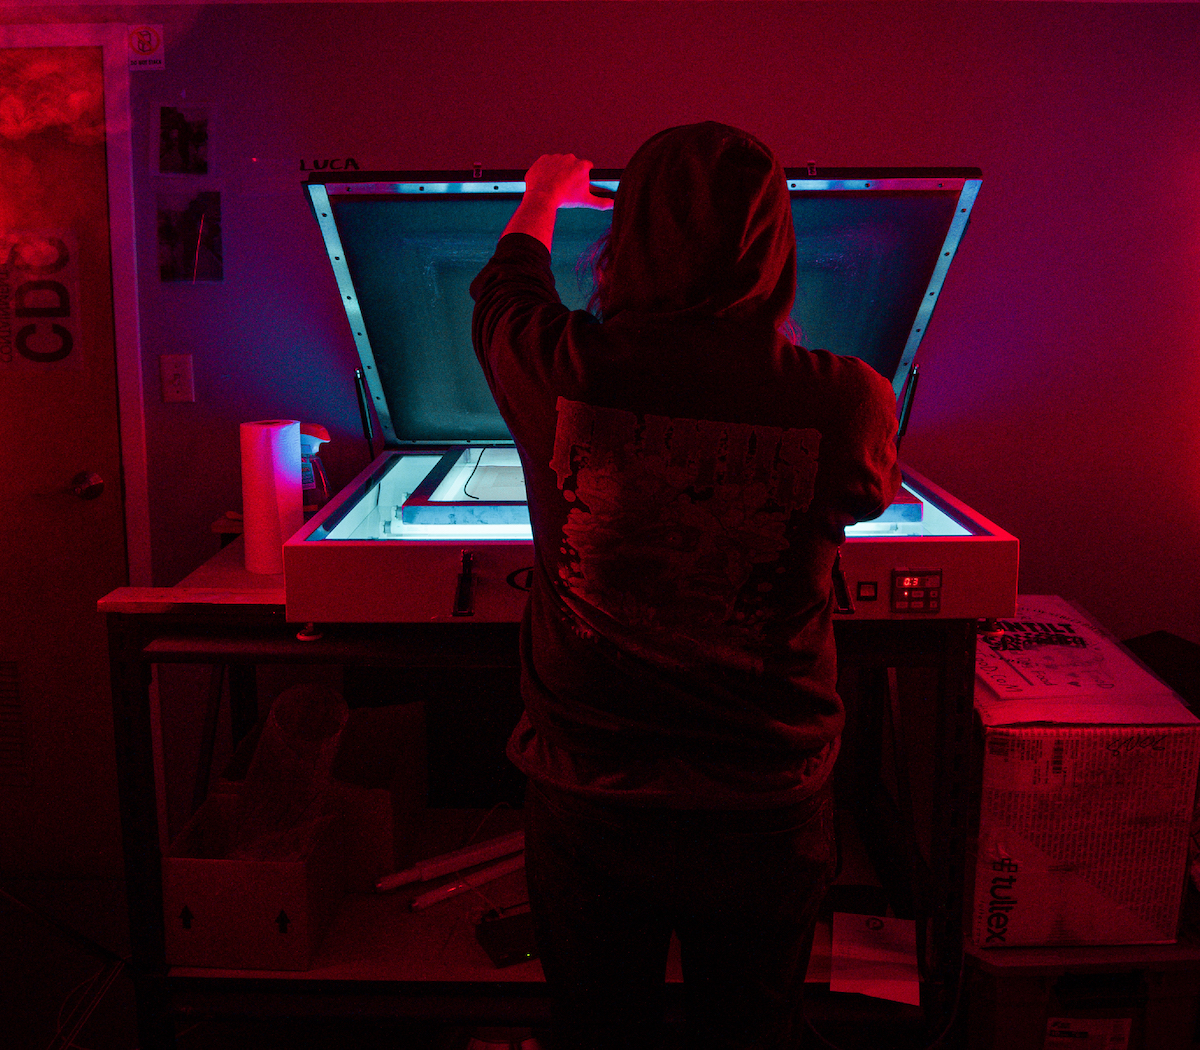
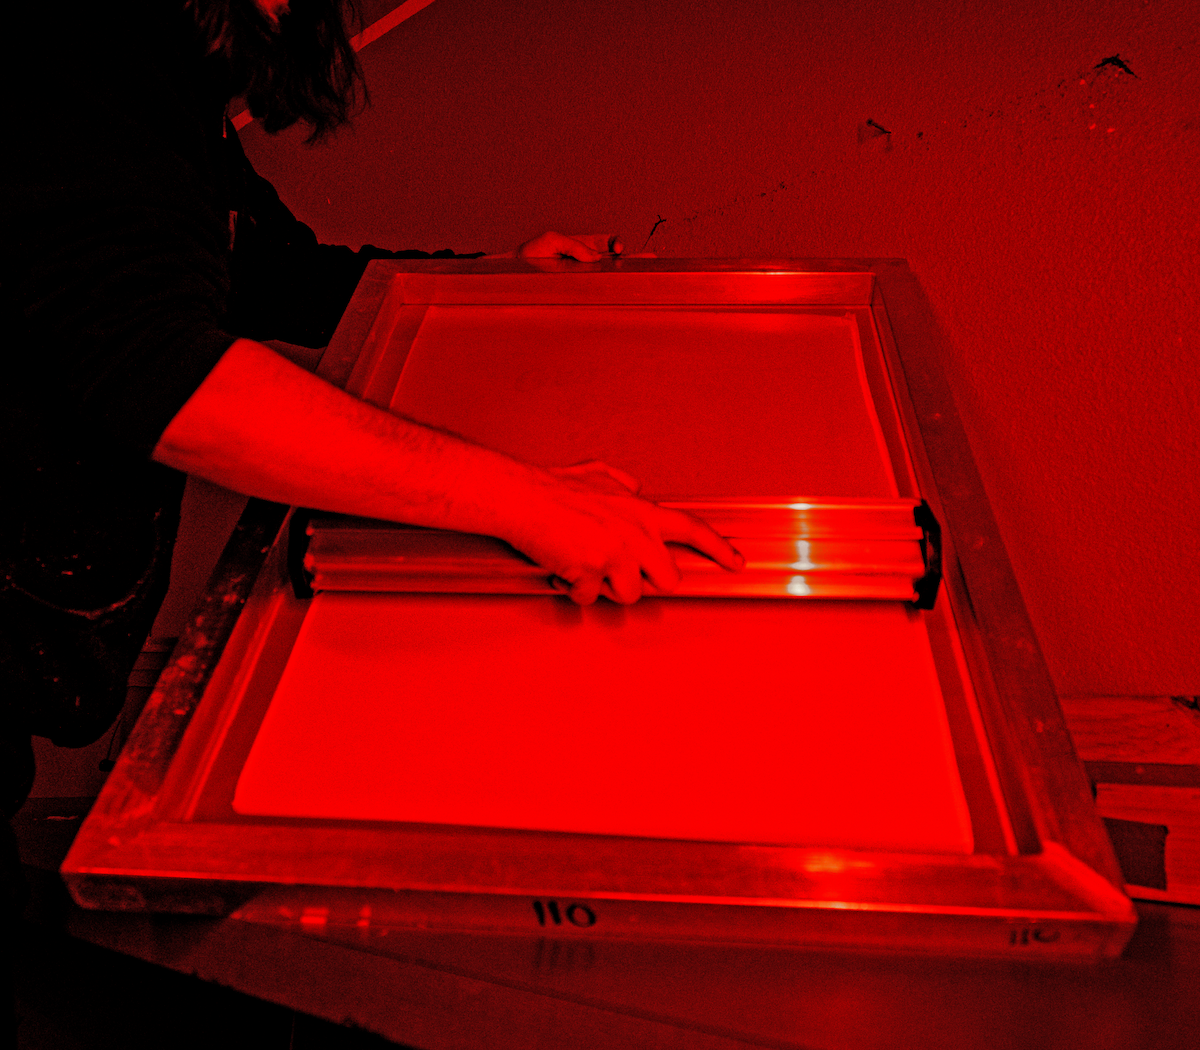
SCREEN BURNING
Once you have an image, we separate the image into layers. Each layer or color of art for printing needs to be on its own screen. Once the colors are printed separately, you then have a complete image. Each layer is printed onto a film for “burning” the screen. Using a template, each film is placed upside-down and taped to the screen. The screen is then placed on a light table wehre the UV light makes a negative onto the photo sensitive emulsion. Once the light has done its job, we rinse the screen, and the image comes through.
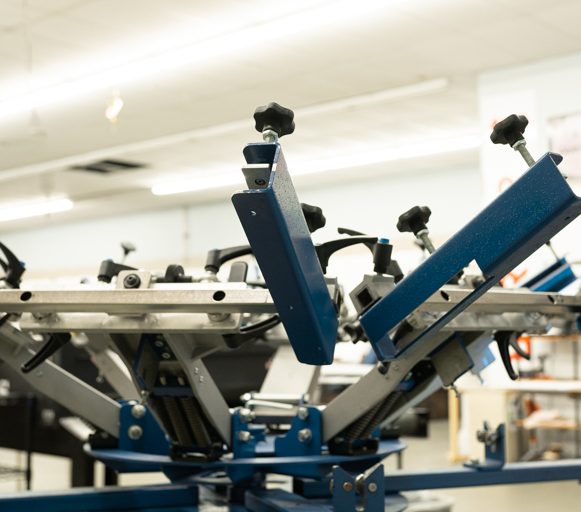
SETUP
After having all of the layers of the images burned onto the screen(s) we line up the screen(s) to make the image. Each film has registration marks to make the image easier to line up with each color. Designs are normally printed lightest to darkest, but it depends on the design.White ink is usually used for the base to make colors pop on darker colored shirts so that is used as the first screen and all the colors lined up accordingly. At this point, we ad the requested colors of ink to each screen for printing.
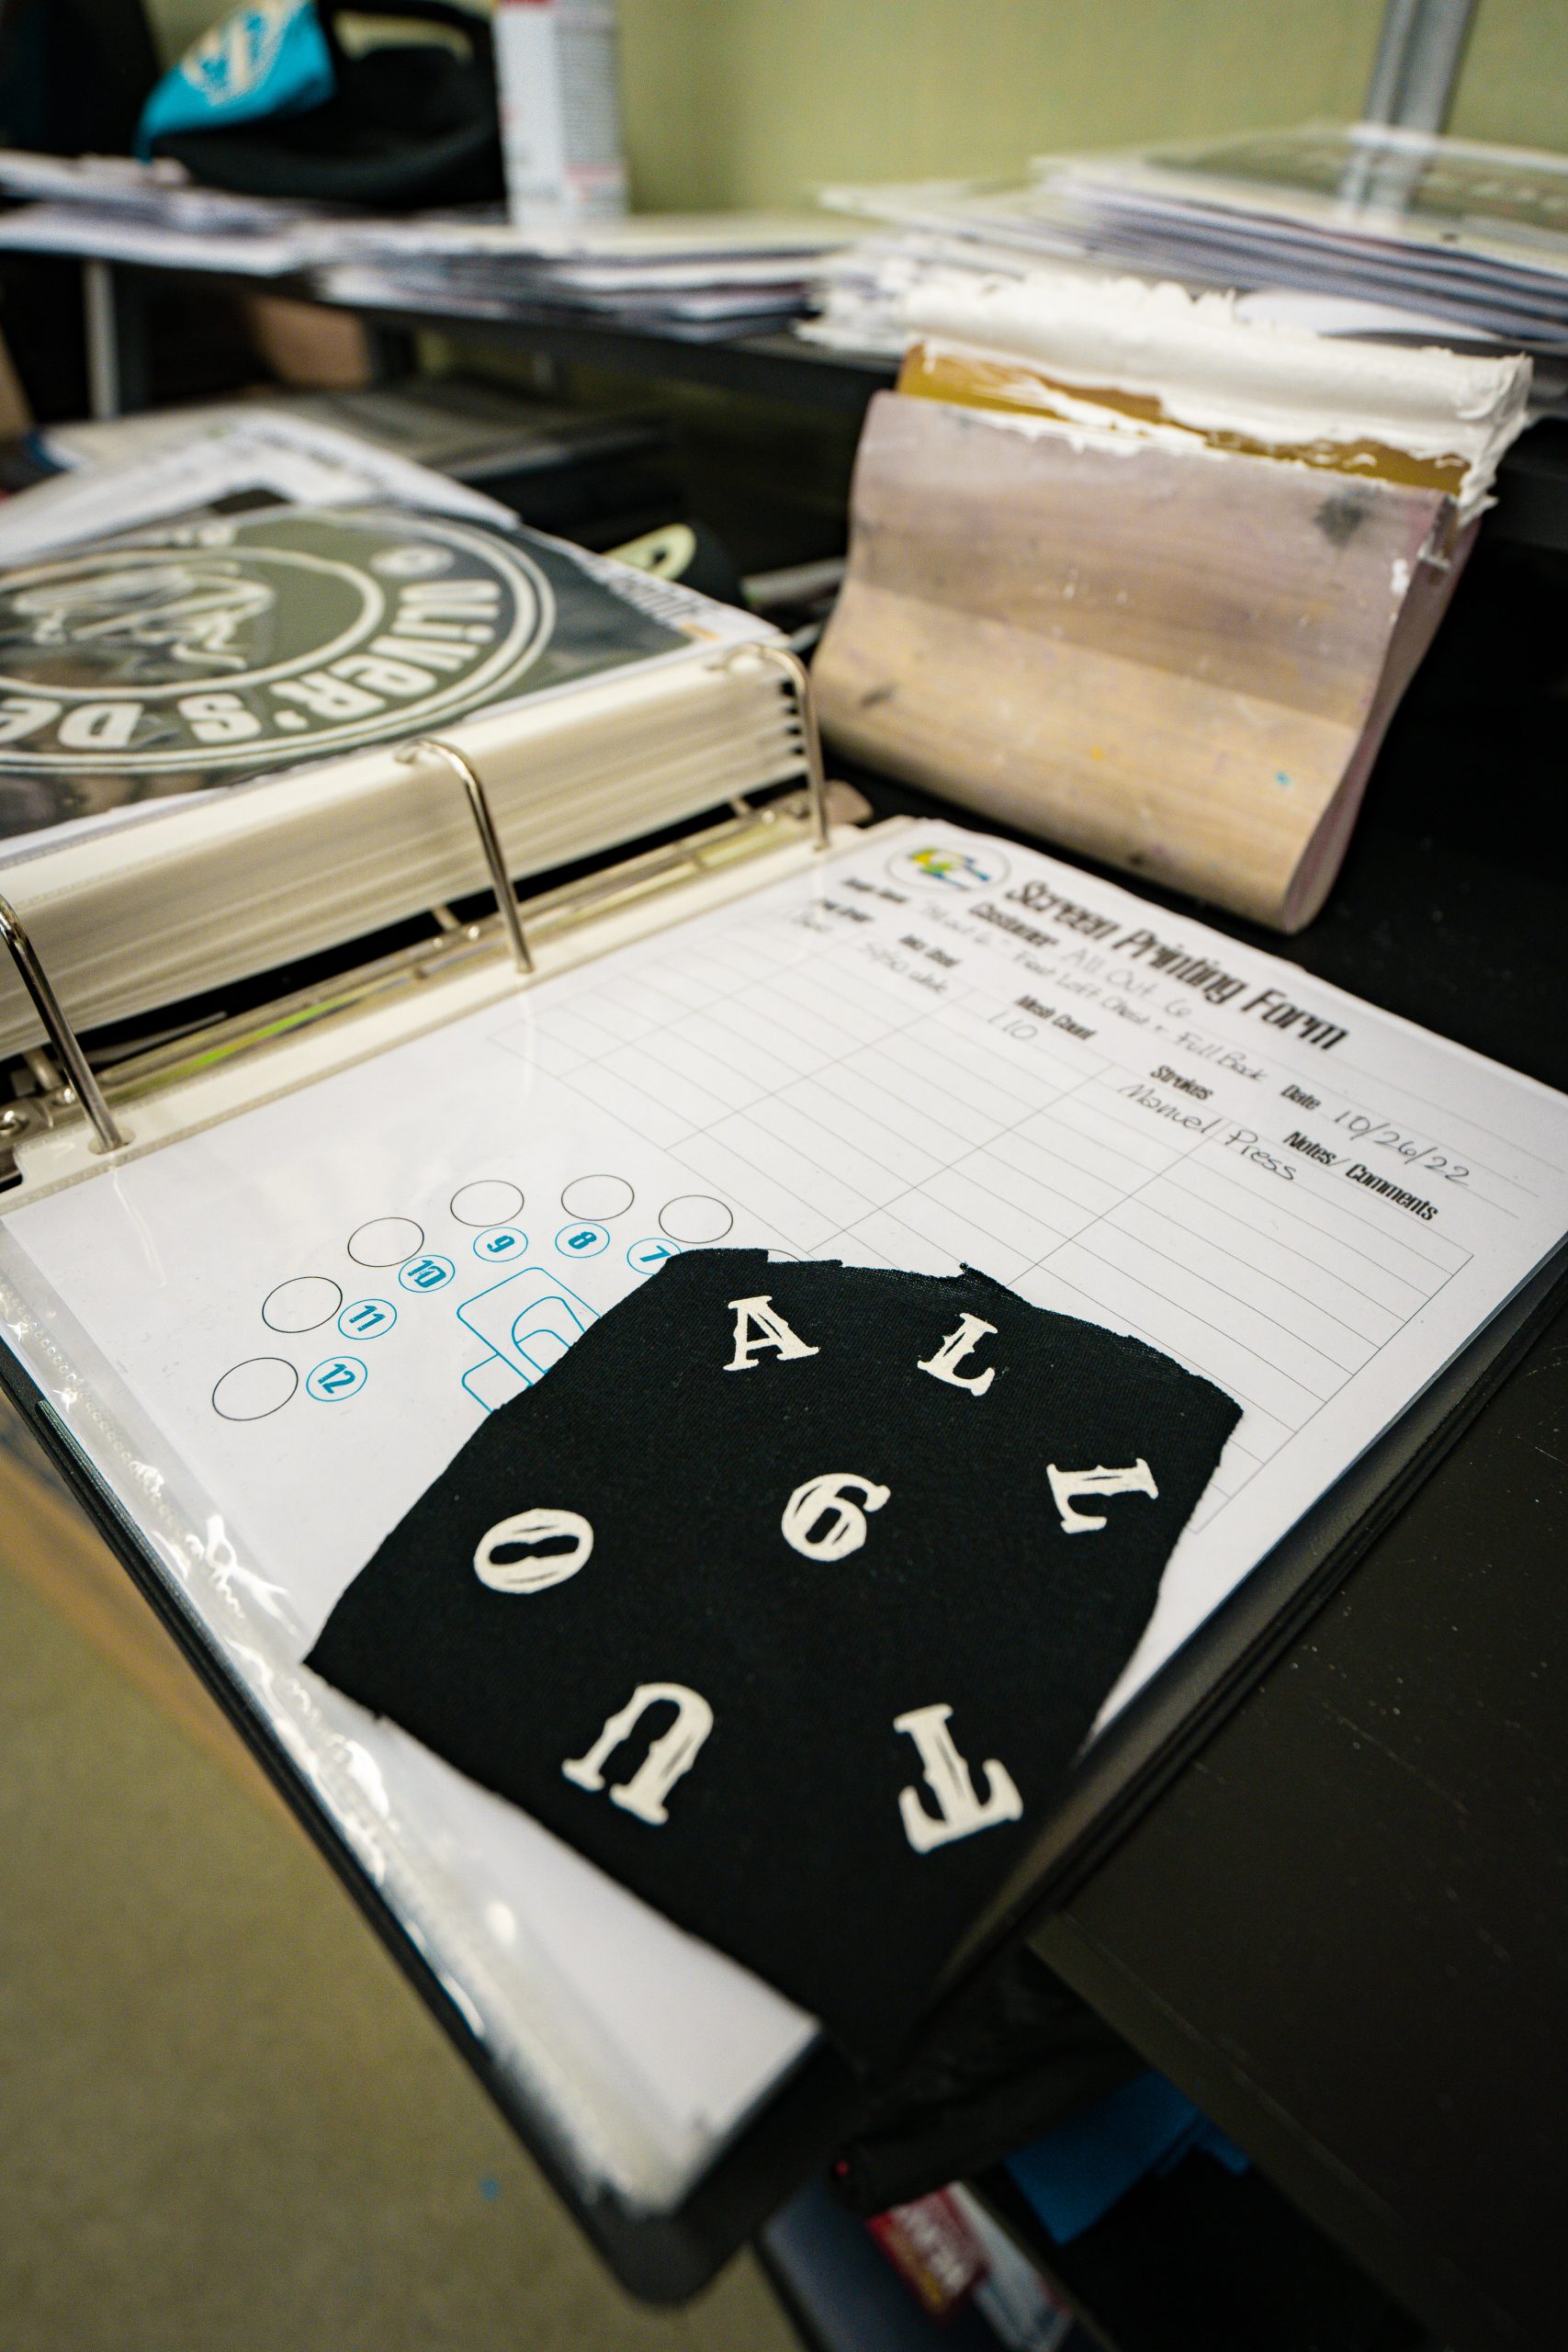
TEST PRINT
This step is important for several reasons, mainly being if you print your image incorrectly, a reprint is required. It’s used to make sure the placement and colors are correct as well as making sure the final print looks like the original artwork. After everything is lined up and the registration marks are taped off, we do a final test print.

After the test print and making sure everything is correct, we check the quality of your garments as well. After we stack the garments for speed and ease of printing, we check the print and garments for any holes or mistakes.
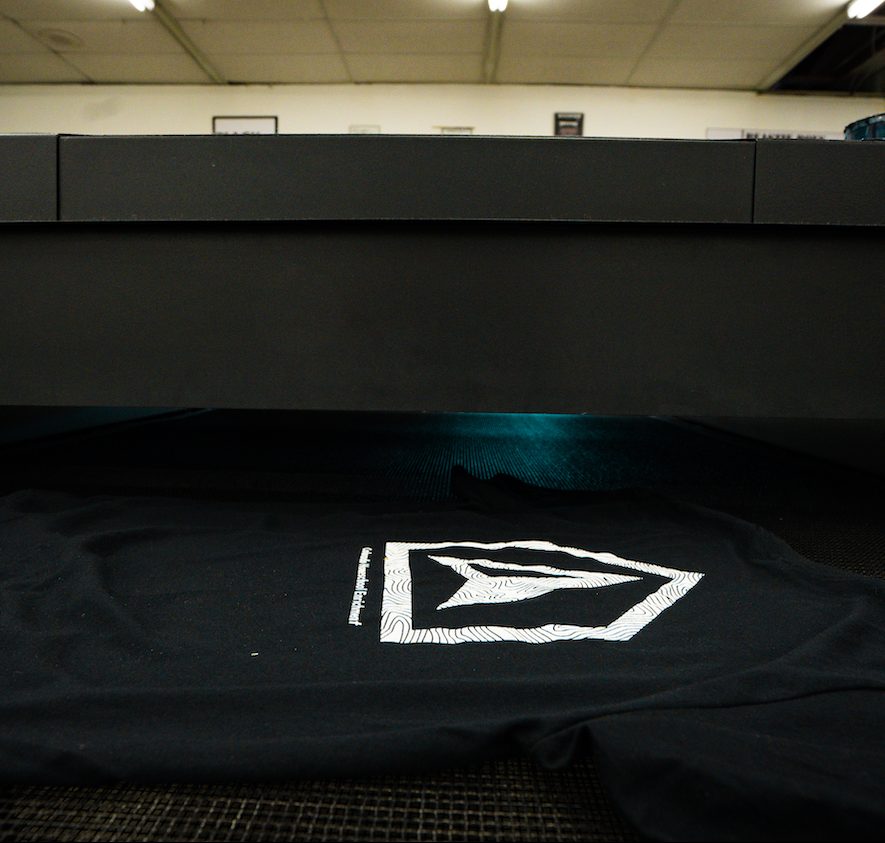
CURE
Once the print is on the shirt, the ink will need to be cured at roughly 310º F for 40 seconds depending on the ink type. Having a conveyor dryer is usually the best way to do this, but a flash unit can work as well. The ink will not dry on its own (unless airdry ink for vinyl is used) and needs to be cured in order to adhere to the garment. If this is not done properly, the image will wash off the garments.